#Industry News
Techniques for Ultrasound-Guided Distal Radial Artery Puncture
Techniques for Ultrasound-Guided Distal Radial Artery Puncture
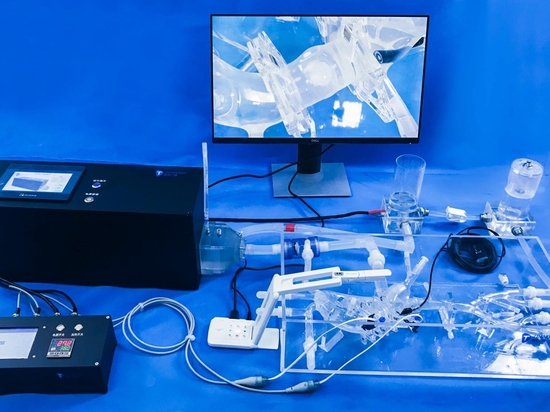
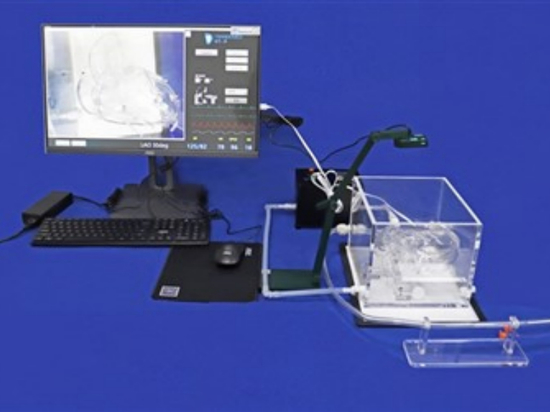
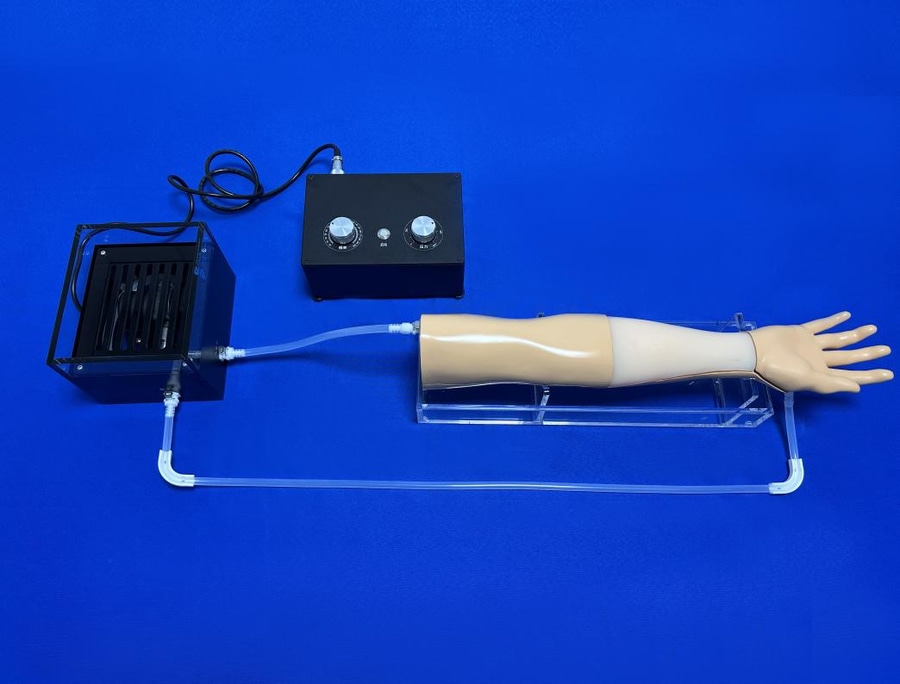
"The distal radial artery approach is a common route for vascular access interventional therapy, but it still presents certain difficulties for beginners, even with ultrasound guidance, especially when the distal radial artery is relatively thin. The Percutaneous Radial Artery Cannulation Simulator I is designed to address these challenges. The following are common techniques for radial artery puncture."
Optimizing Vessel Selection and Entry Point
First, the choice of the vascular entry point is crucial. Choose a relatively straight section of the vessel as the entry point. Note that this is the vascular entry point, not the skin entry point; the skin entry point should be further away. What kind of vessel is tortuous? It's when the vessel cannot be fully visualized in longitudinal section, requiring left-right adjustments to see a portion, or when the probe moves erratically in transverse section, indicating vessel tortuosity. If the radial artery has a certain slope, it can create an angle with the puncture needle, which is beneficial for penetrating the vessel wall. Near the wrist joint, the radial artery often has this slope. Of course, an excessively large angle is also undesirable, as it can easily puncture the posterior wall.
Managing Vessel Depth and Needle Visibility
Second, the depth of the vessel should also be appropriate; too deep a puncture increases the difficulty. However, too shallow an insertion isn't necessarily good either. If the radial artery is right under the skin, the space for ultrasound observation after needle insertion is very small. The solution to shallow insertion isn't difficult: inject more local anesthetic during the injection, creating a hypoechoic area above the vessel. This provides sufficient thickness, and the strong echo of the needle will be more clearly visible against the contrast of the hypoechoic area.
Combined Ultrasound Guidance Technique
Ultrasound guidance for needle insertion can be done in transverse or longitudinal sections; I personally think a combination of both is best. Before insertion, first visualize the insertion point of the vessel in the longitudinal section, plan the approximate insertion route, design the skin insertion site, and inject local anesthetic. Then, insert the needle. Once the needle tip has slightly penetrated the subcutaneous tissue, switch to a transverse section and move the probe back and forth to locate the needle tip. Guide the needle tip close to the anterior wall of the vessel, adjusting it to be directly above the vessel wall-this is crucial. During this step, the needle should be inserted slowly, and the probe should move synchronously to track the needle tip. Don't just keep the probe stationary while the needle is being inserted, because the bright spot seen on ultrasound may not be the needle tip; it could also be a section of the needle shaft.
Then, place the needle tip against the center of the anterior wall of the blood vessel to prevent it from sliding left or right (sometimes the radial artery is very slippery). Then change to a longitudinal section and continue advancing the needle, observing for blood return. If there is blood return, it means the needle tip has entered the blood vessel. The video below shows the process of advancing the needle from a transverse section to the anterior wall and then changing to a longitudinal section to continue advancing the needle.